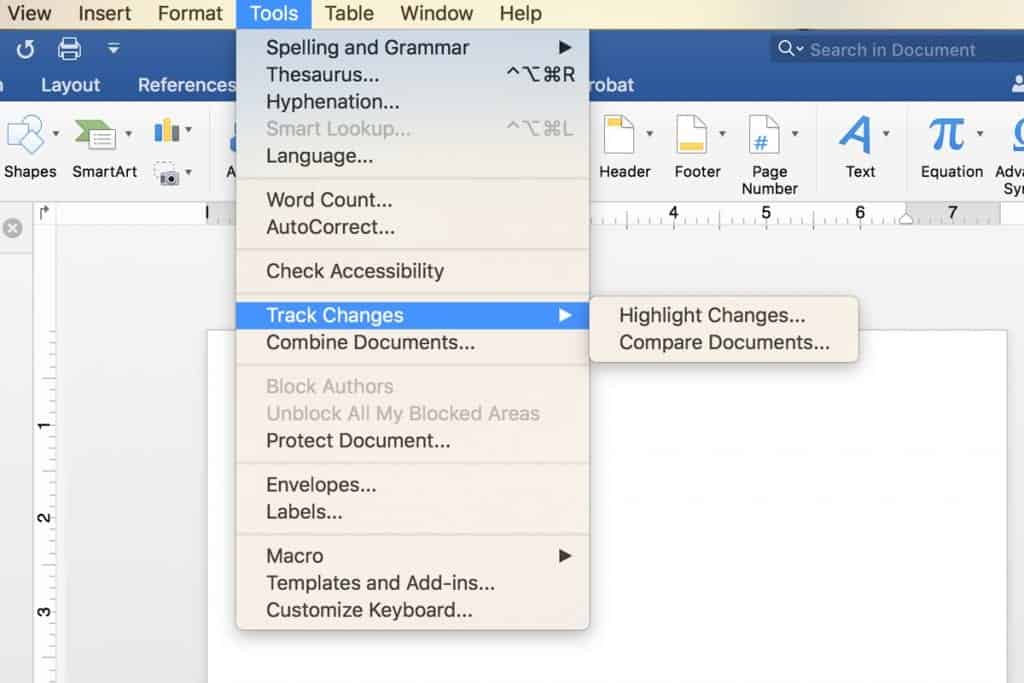
“Just turn on Track Changes.” It sounds so simple—until you try to tackle one of Microsoft Word’s most powerful productivity features. Since it’s also one of the most mystifying, we decided to collect a few of our favorite strategies to navigate this classic collaborative tool. Next time you get a marked-up Word document with hundreds of additions, deletions, questions, and comments all displayed in different colors, you can proceed with confidence and edit like a pro.
(Note: the following tips apply most accurately to Microsoft Word 2013. Older or newer versions could include slightly different procedures.)
After you receive and open the document you need to edit:
- Click Review
- Click Track Changes
- Then choose Track Changes from the drop-down. With All Markup selected, the tracked document shows every change by every user, with each user’s edits showing up in a different color
If you see a change you don’t like:
- Hover anywhere on the marked change
- Click Reject
- Then choose Reject Change from the list box
- When you’re finished, click Accept > Accept All Changes to accept all the remaining edits
If you don’t agree with most of the included changes, reverse the process:
- Click Accept on the ones you want to keep
- Then choose to Accept This Change from the list box
- When you’re finished, choose to Reject All Changes to bulk reject all the remaining edits
Displaying all of those visible changes can dominate a document view and make further rounds of edits more difficult. Consider selecting Simple Markup—in Microsoft Word 2013, it’s the default option when you turn on Track Changes. Simple Markup displays a red vertical track line next to each line of text that contains changes. As you skim the document, click the track line to toggle between All Markup, displayed with a gray line, and Simple Markup, displayed in red.
When you’re reviewing a collaborative document using Track Changes, sometimes extended comments are necessary to explain or suggest an edit. Comments can also help when spelling out formatting requests to a layout, graphic design, or printing person.
To add comments, first decide how you want them displayed:
- Show Revisions in Balloons, which displays comments in a balloon to the right of the document
- Show All Revisions Inline, which highlights the text in question inside the paragraph between vertical lines followed by the initials of the editor
- Or Show Only Comments and Formatting in Balloons, which displays the comment text on the right connected by dotted lines
You can change the format at any time, but pick the one you’re comfortable with and run with it.
Once you have your format selected:
- Hover over the text where you want the comment inserted
- Click the New Comment button under the Review tab
- Complete Word’s Review Screen panel that links your selected text to a comments box
- Enter your comments and press Esc when finished
To edit or reply to another comment:
- Click the connected balloon on the right side of the page next to the highlighted text, make any updates, and close
- To reply, click the page curl icon in the toolbar, enter your reply, then click the X to close
This tip could have come first, but figuring out the basics of Track Changes is most important. Once you’ve achieved that, you can toggle Track Changes off and on, either by using the keyboard shortcut Ctrl+Shift+E or simply by adding Track Changes to your status bar:
- Right-click the status bar along the bottom of your Word window, where you can add or remove a number of status indicators, including Track Changes
- Once added, the Track Changes status will automatically display the status of Track Changes (on or off) so you won’t have to click the Review tab to find out
- Clicking that status indicator also toggles Track Changes on and off
Although the specifics of Track Changes can be complicated (especially to the uninitiated), putting in a little time and practice can yield major collaborative results. Have more questions about best practices for Microsoft Office? Looking for other ways to enhance your efficiency and boost productivity? Contact CMIT Solutions today.

